Earlier this year I did a test shoot with Samantha in Cape Town.
I would like to take this opportunity to show what many people do not see. The amount of work that goes into a simple shoot. You should keep in mind that there is a lot more to a campaign shoot.
I will show you how I plan a shoot, what happens during the shoot and how I organize it in the end. I will also show you what tools I use and how I manage my photos.
Results
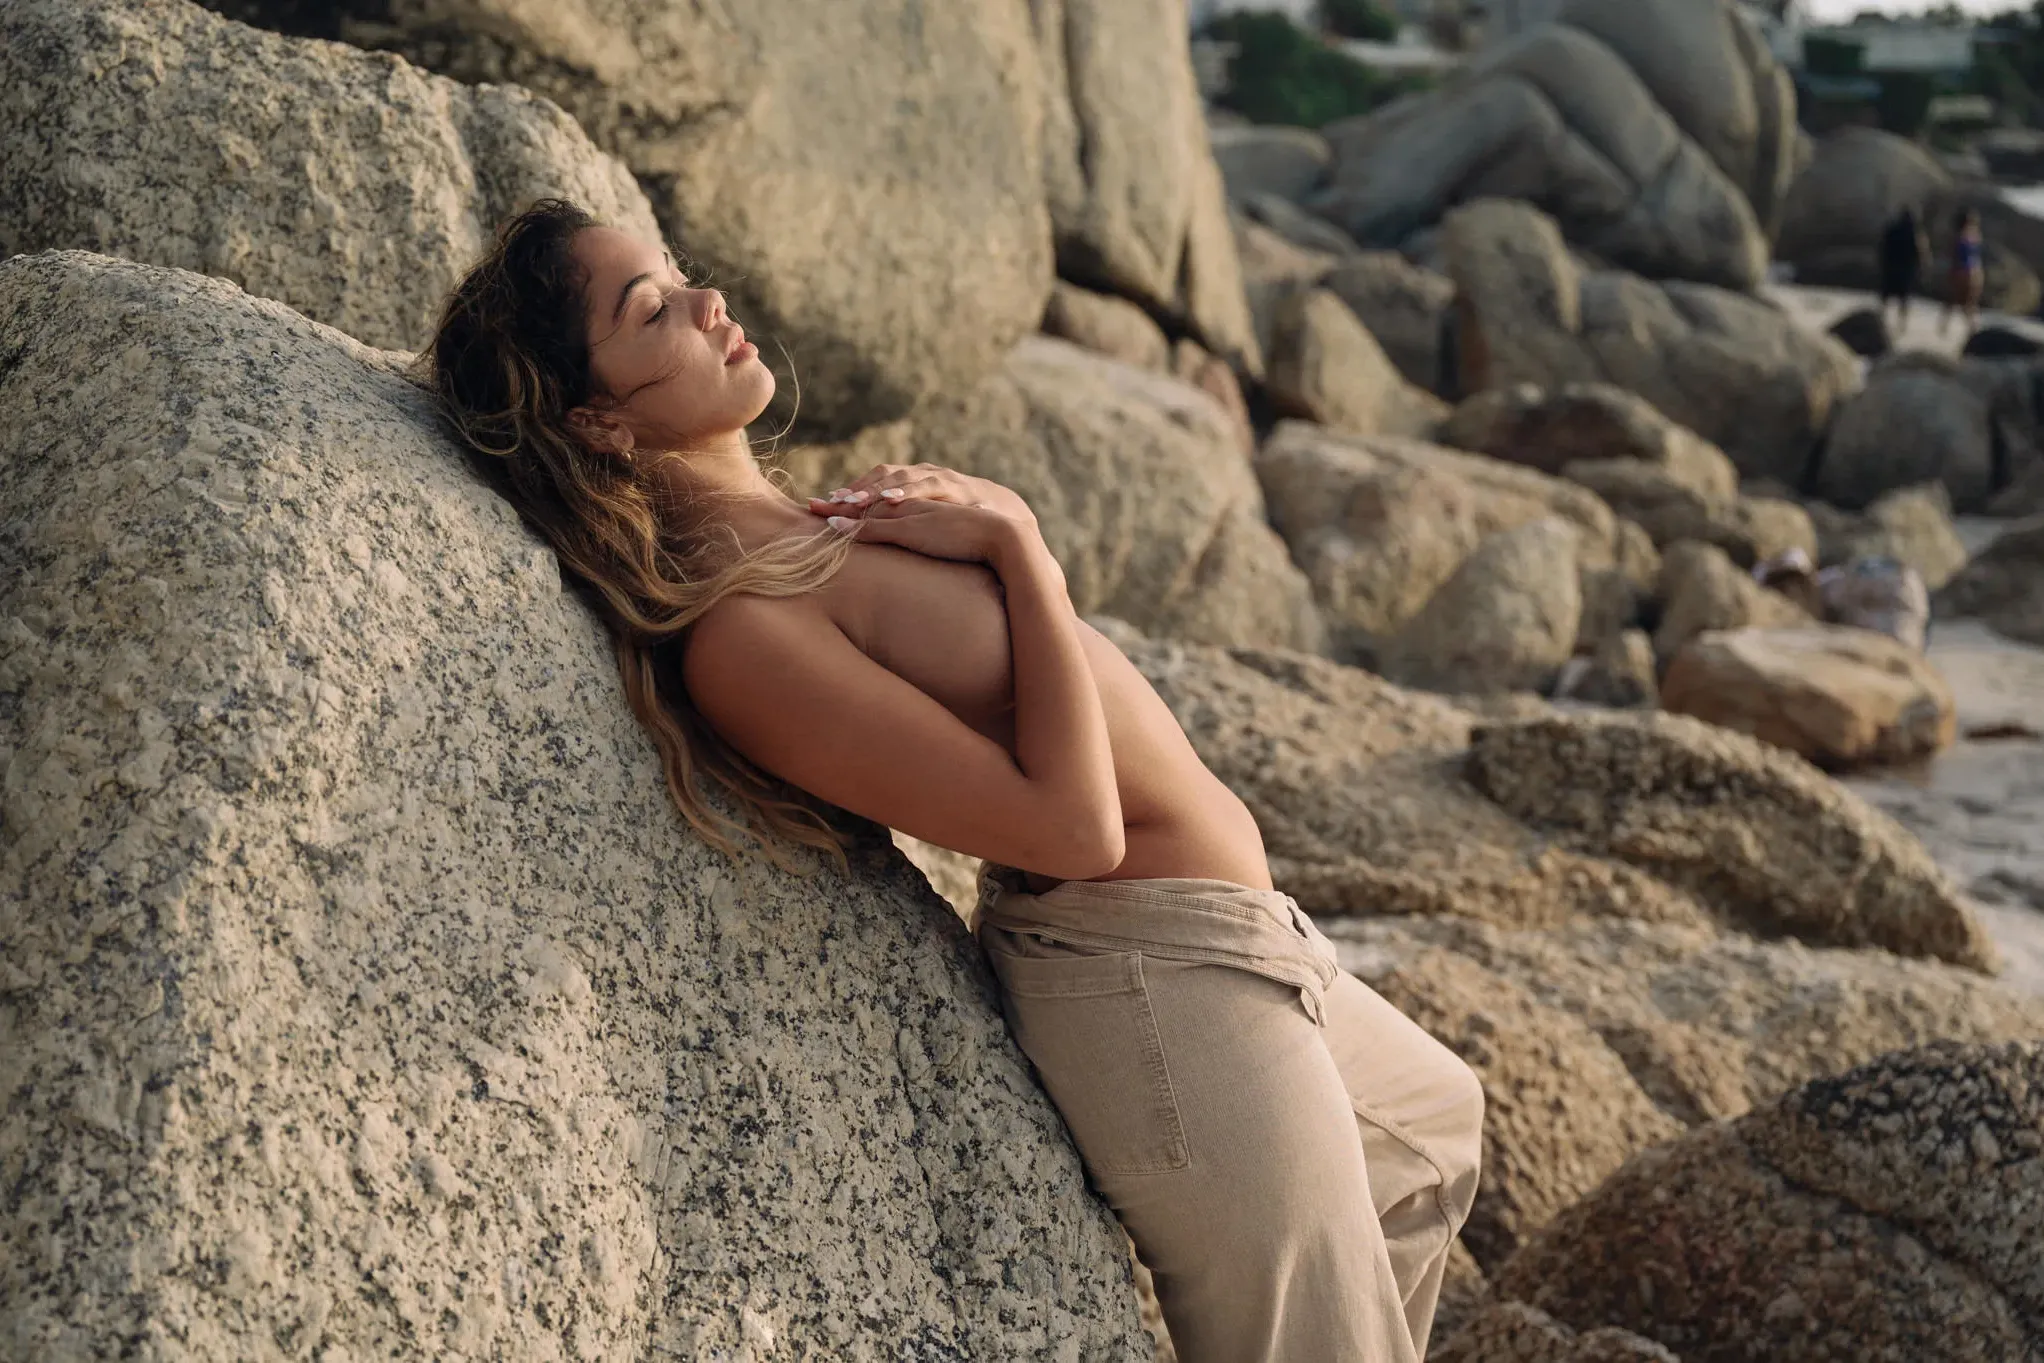
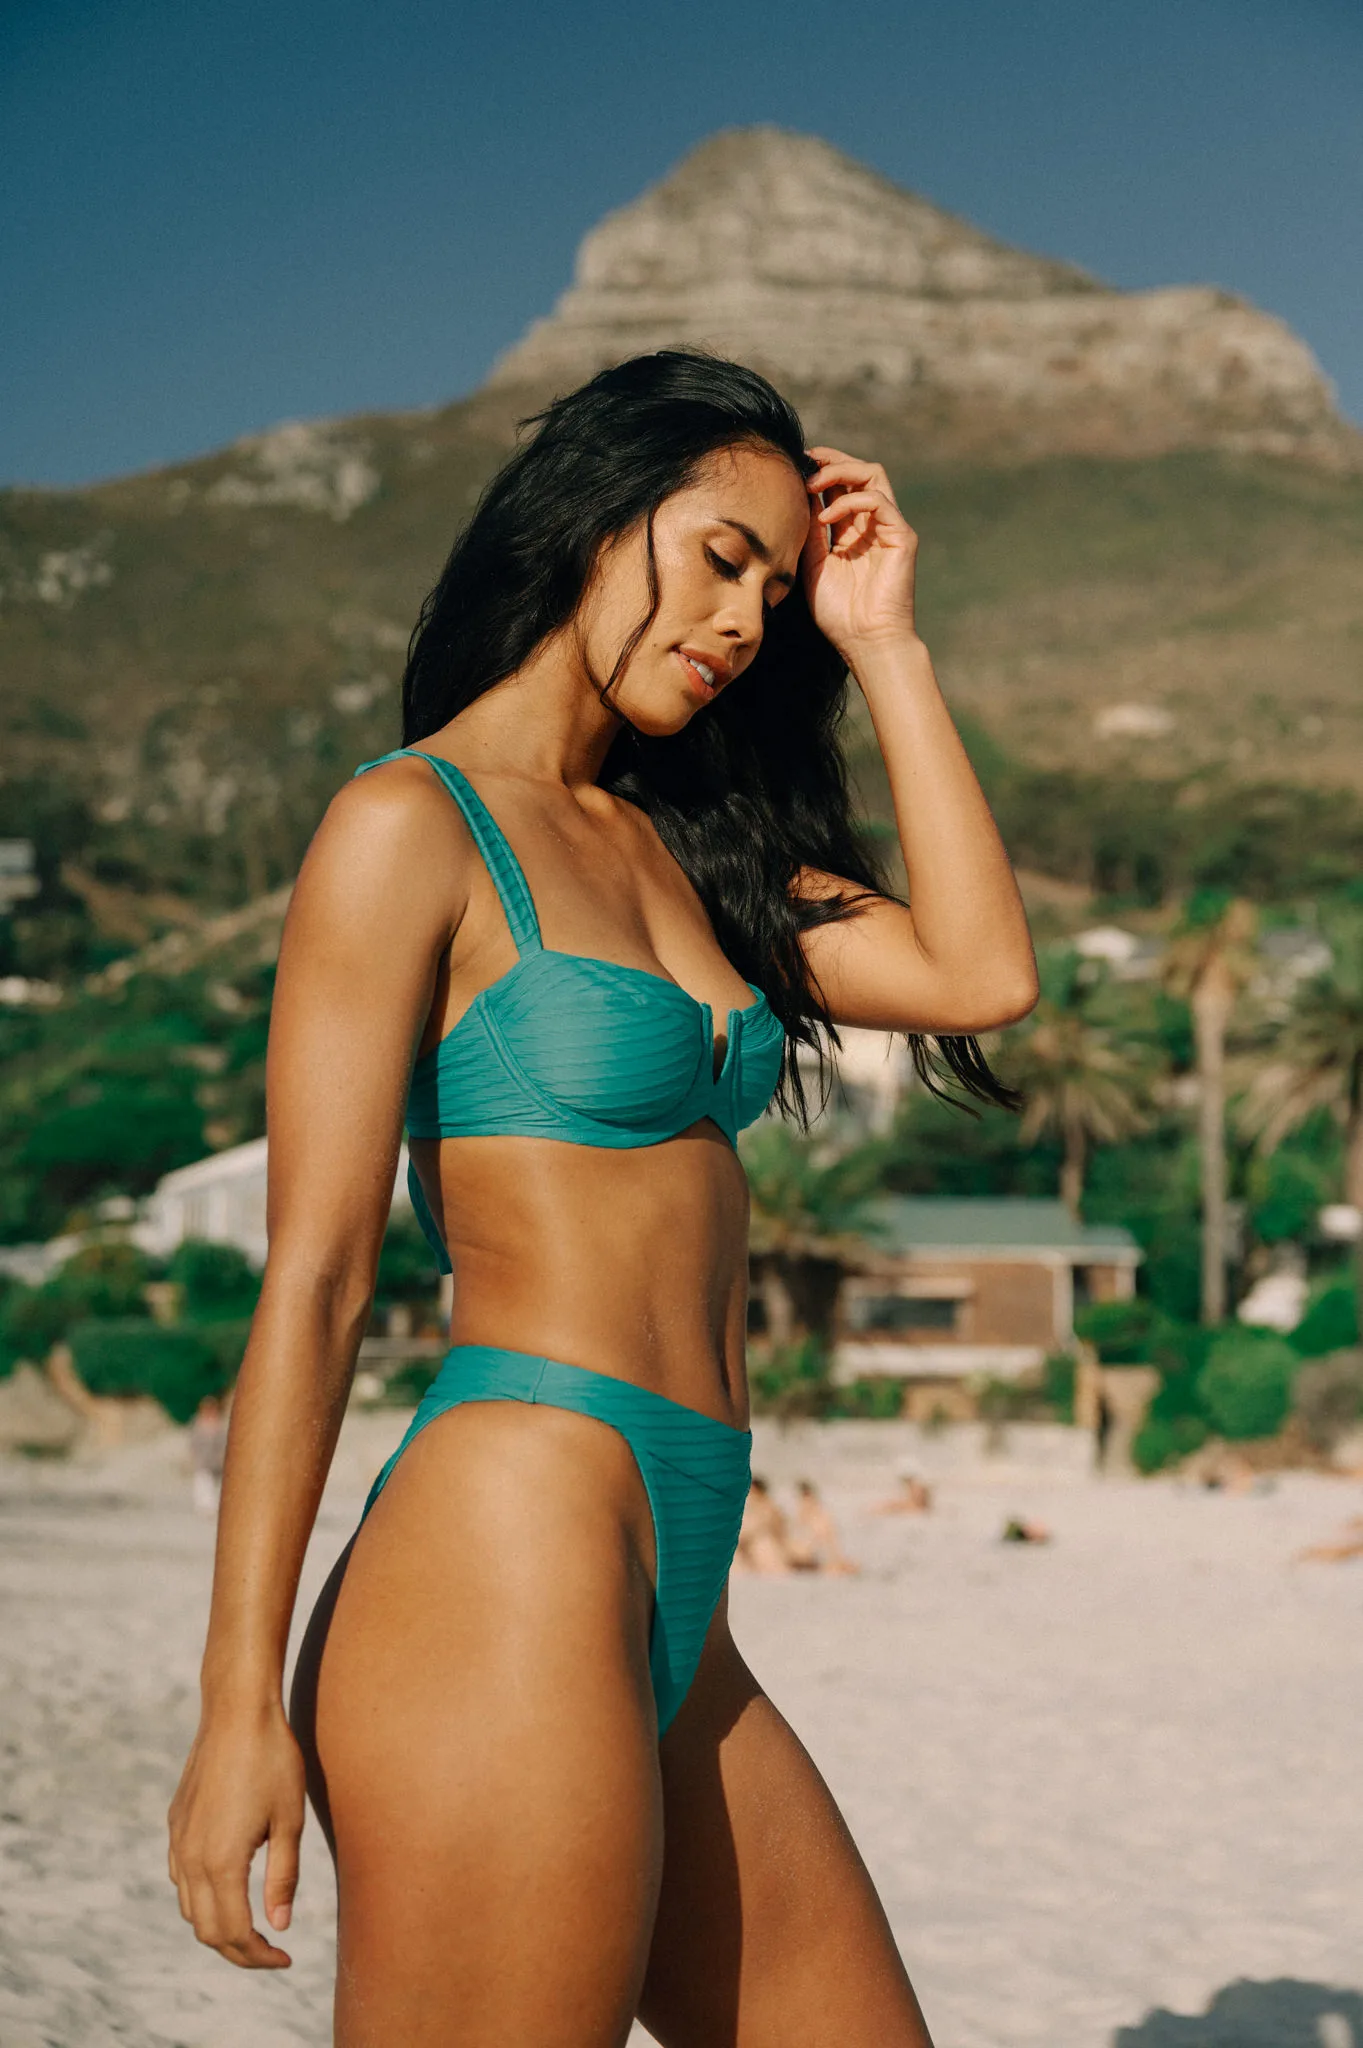
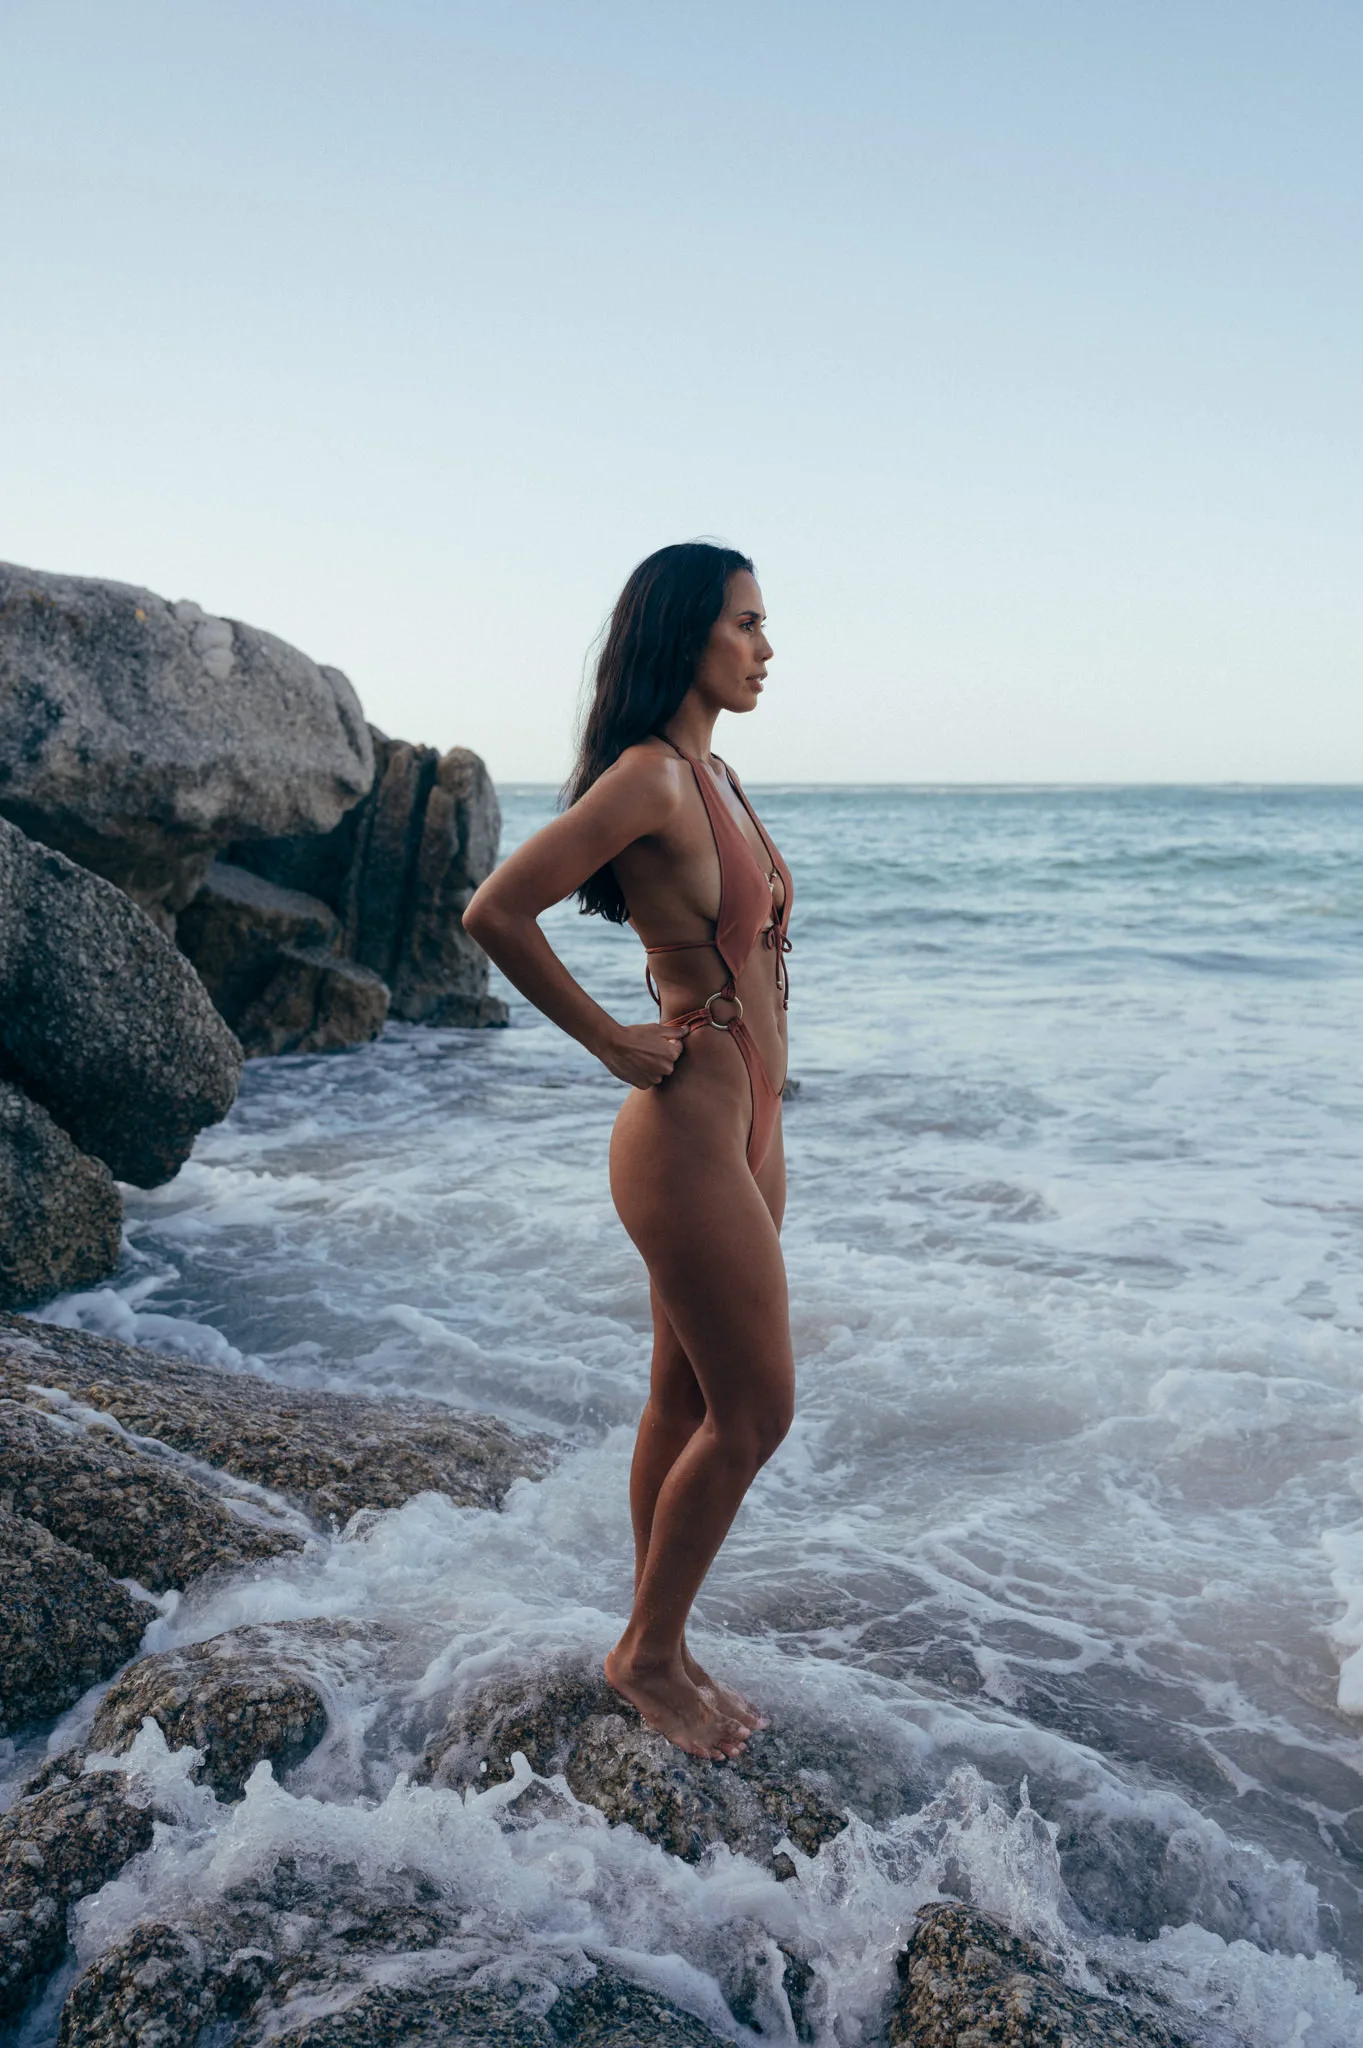
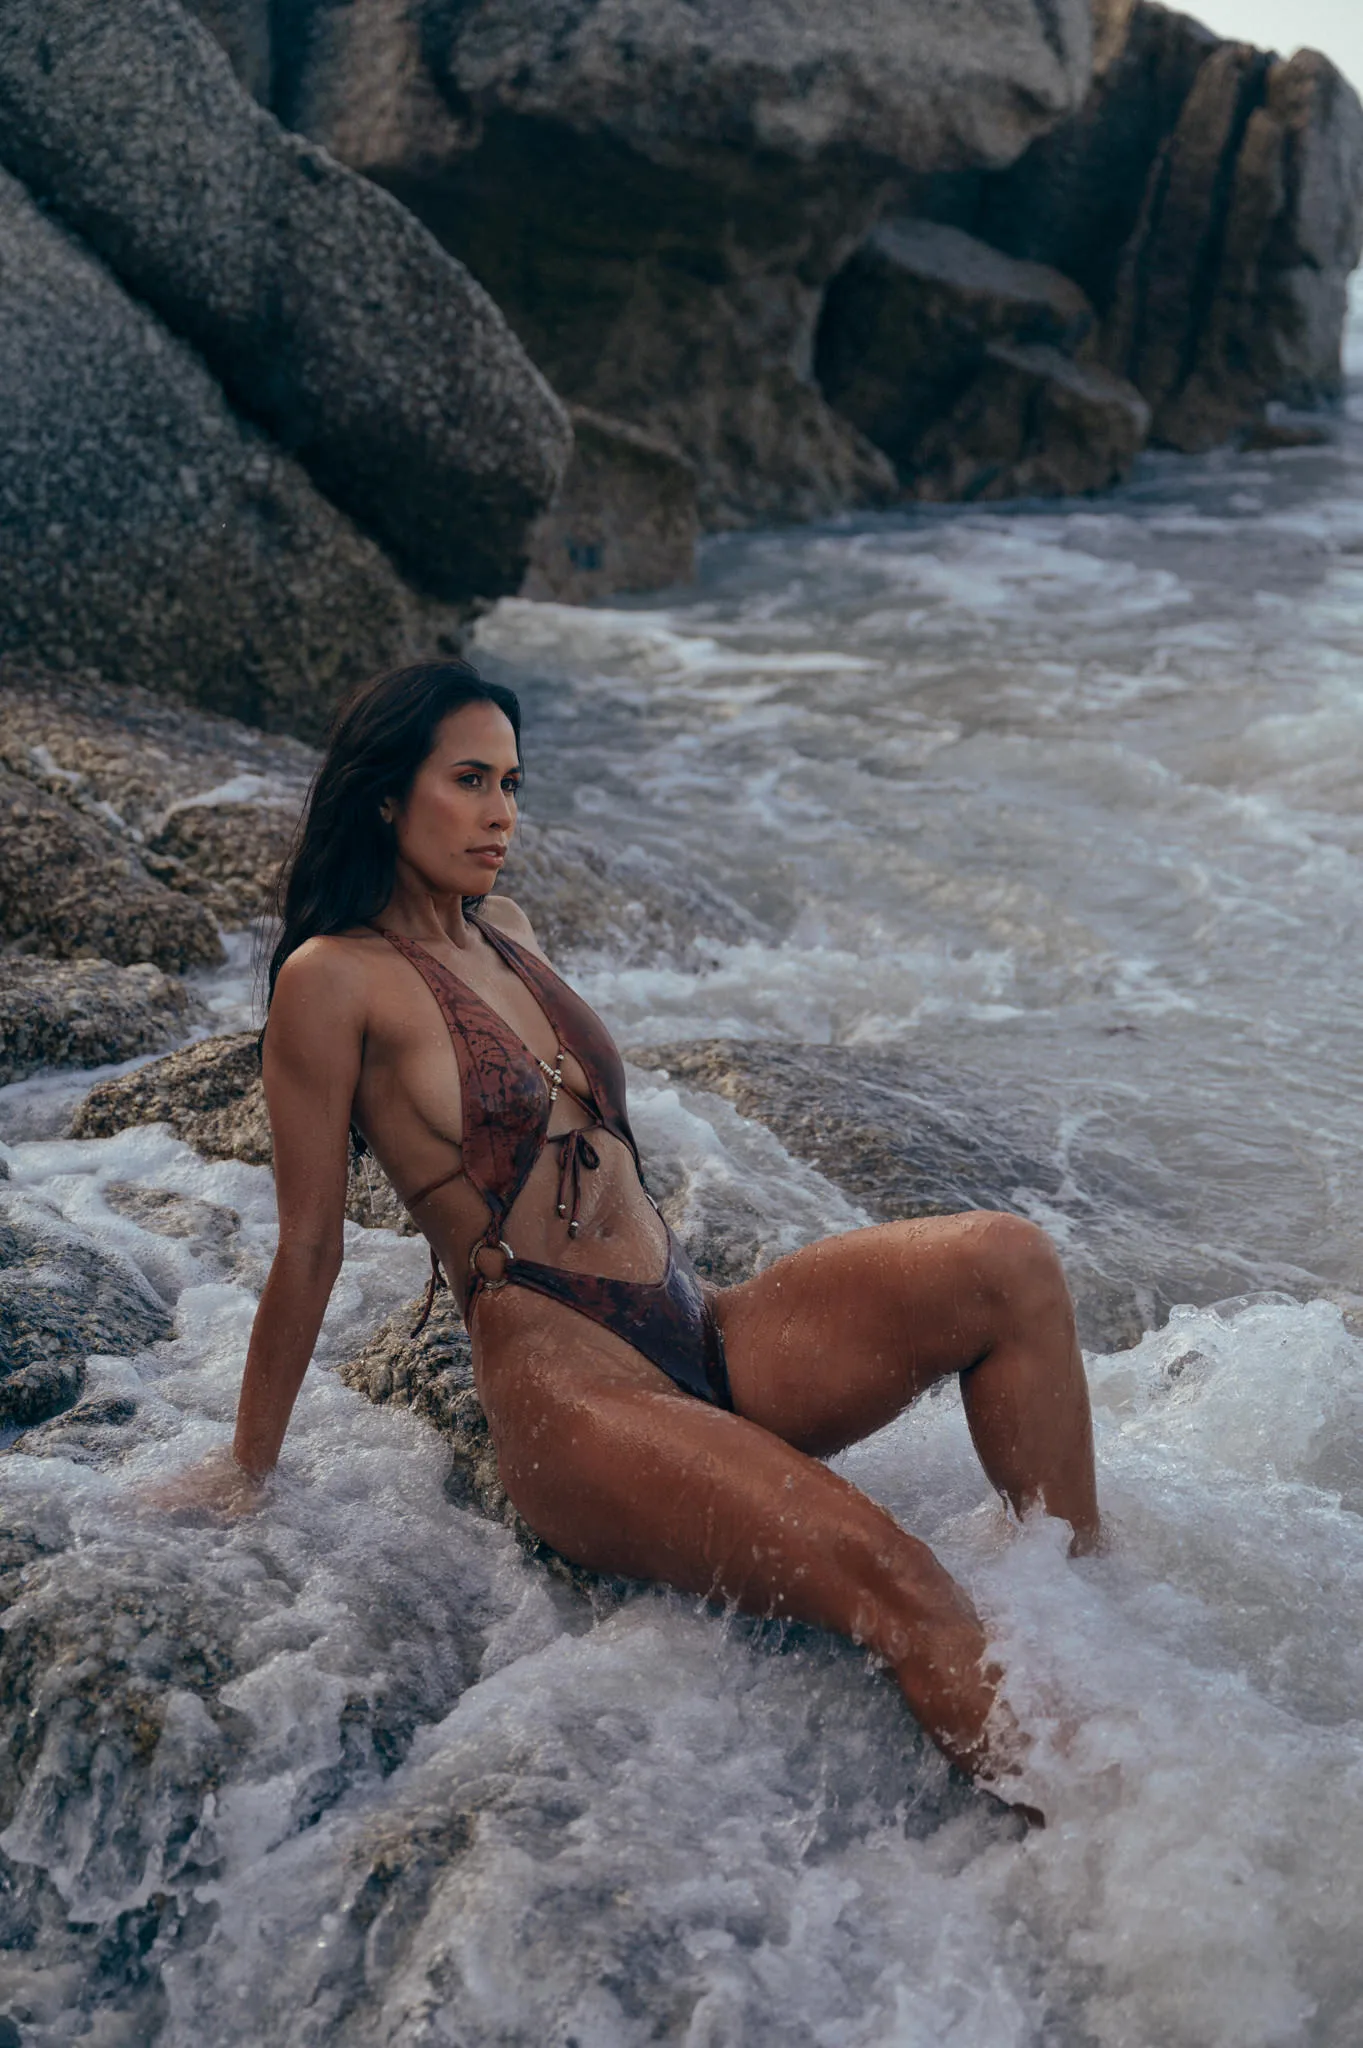
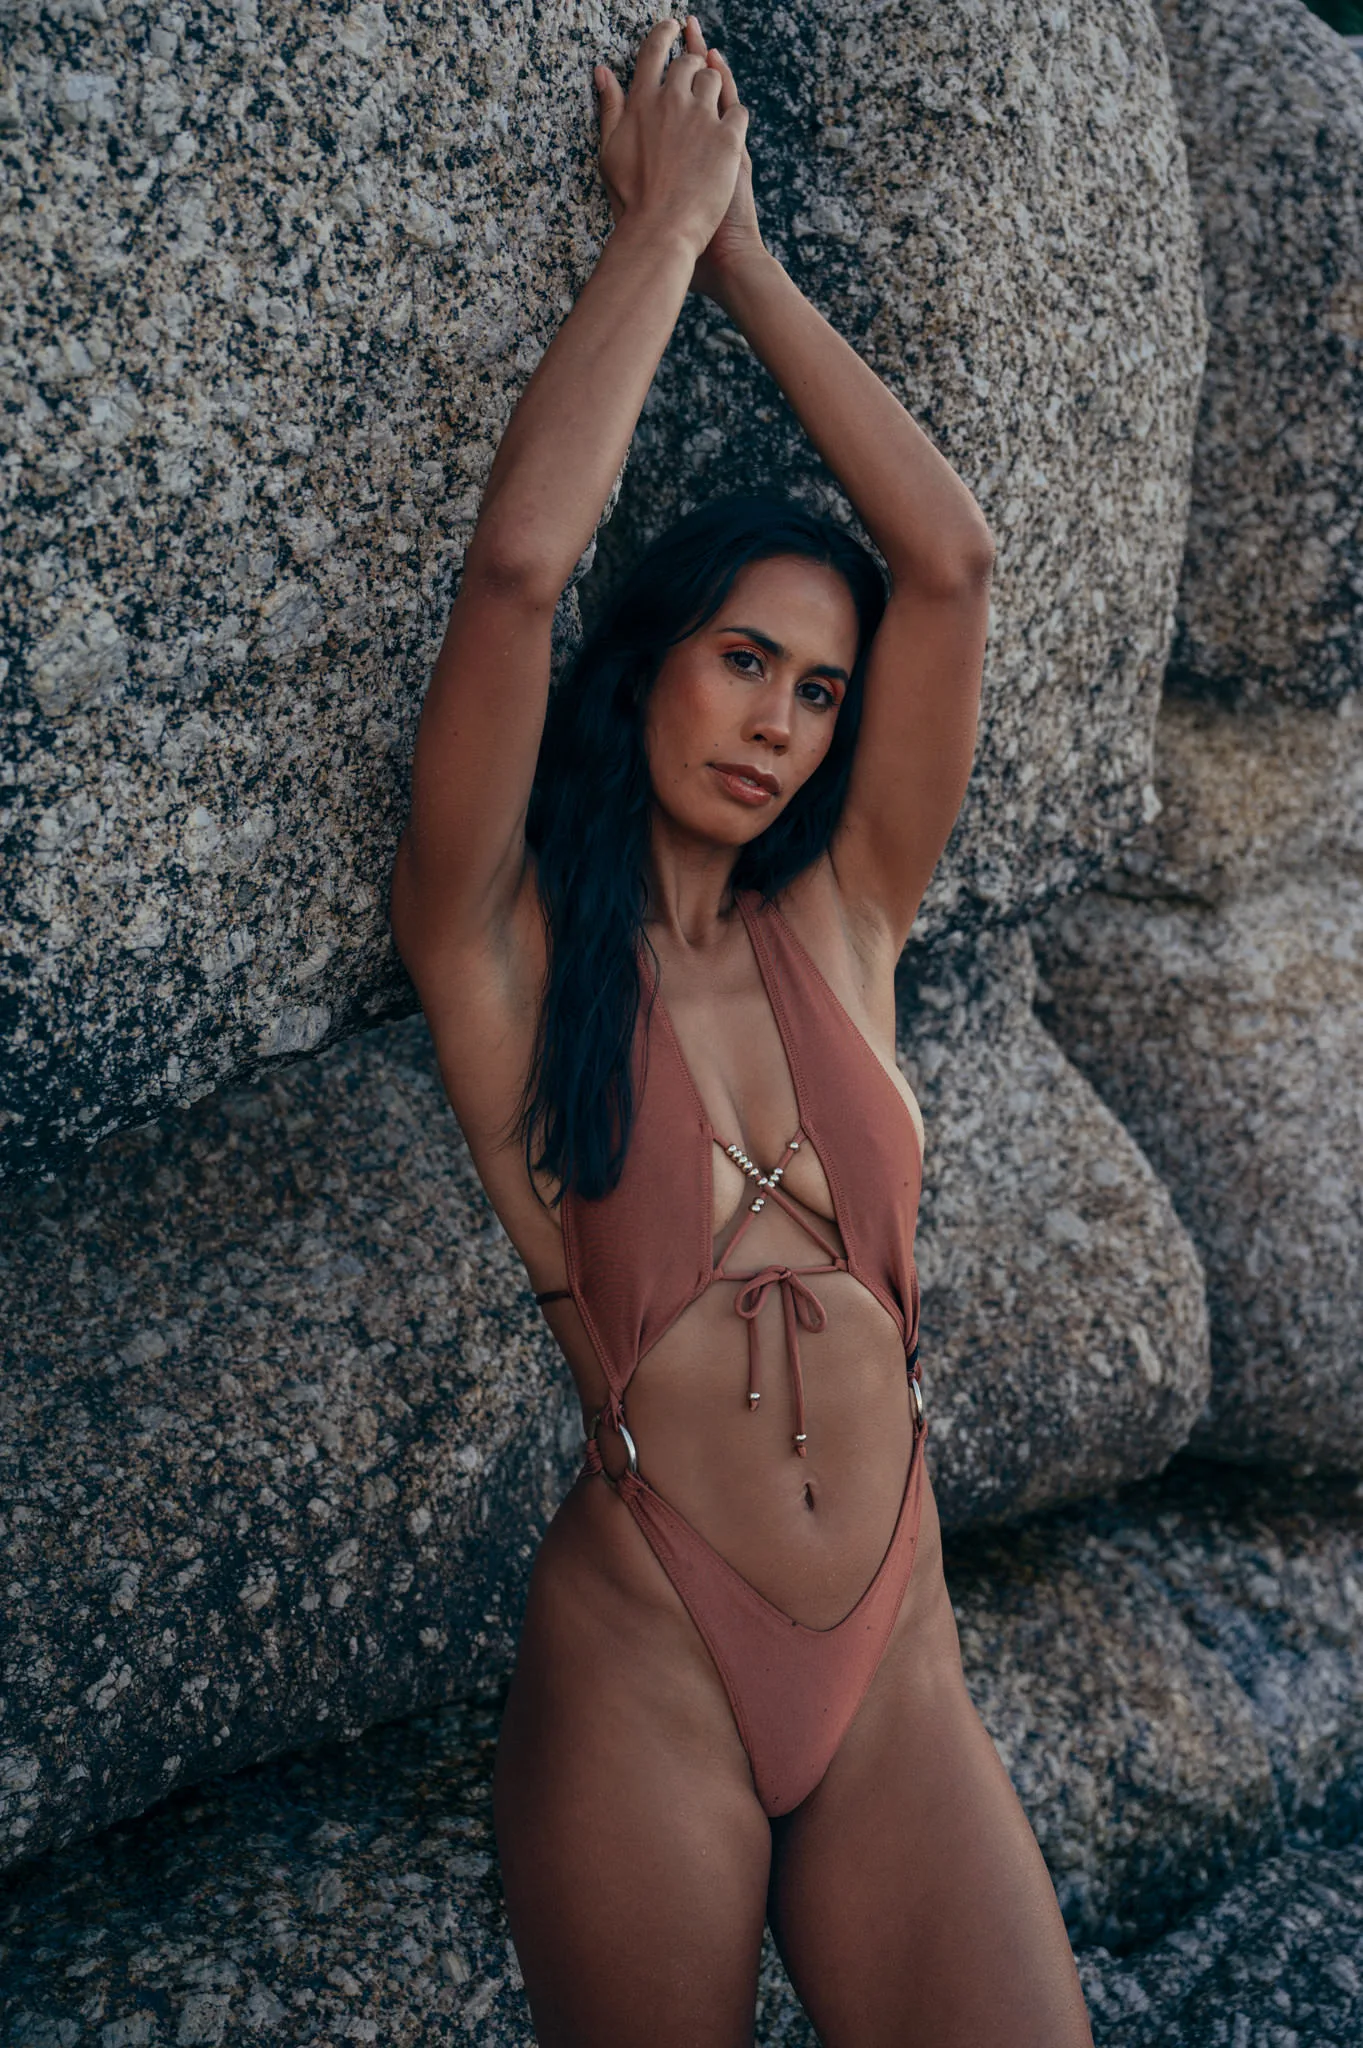
Before we dive deeper into the process, let’s start with the results first. Most of the series you can see on my portfolio website, this is just a selection of my favorite shoots.
Before the shoot
Every shoot, whether it’s a test shoot or a commercial shoot obviously starts with an idea. Our goal was to shoot three different outfits, something colorful with a lot of vibe, something more sensual and a final set during the sunset.
I put this idea “on paper” by often using a mood board. In case you’ve never heard of it. I collect inspiration in the form of existing photos or videos and put them together to create an overall concept.
I use a service called Milanote for this, which not only allows me to work on a mood board from anywhere using the apps for iPhone and iPad. Milanote also allows multiple people to work on a board at the same time, which makes it much easier to collaborate with clients.
Also worth mentioning is the browser extension, which allows you to save photos for later or assign them directly to an existing moodboard. This makes composition much easier.
As sources I can recommend Pinterest and Behance among others.
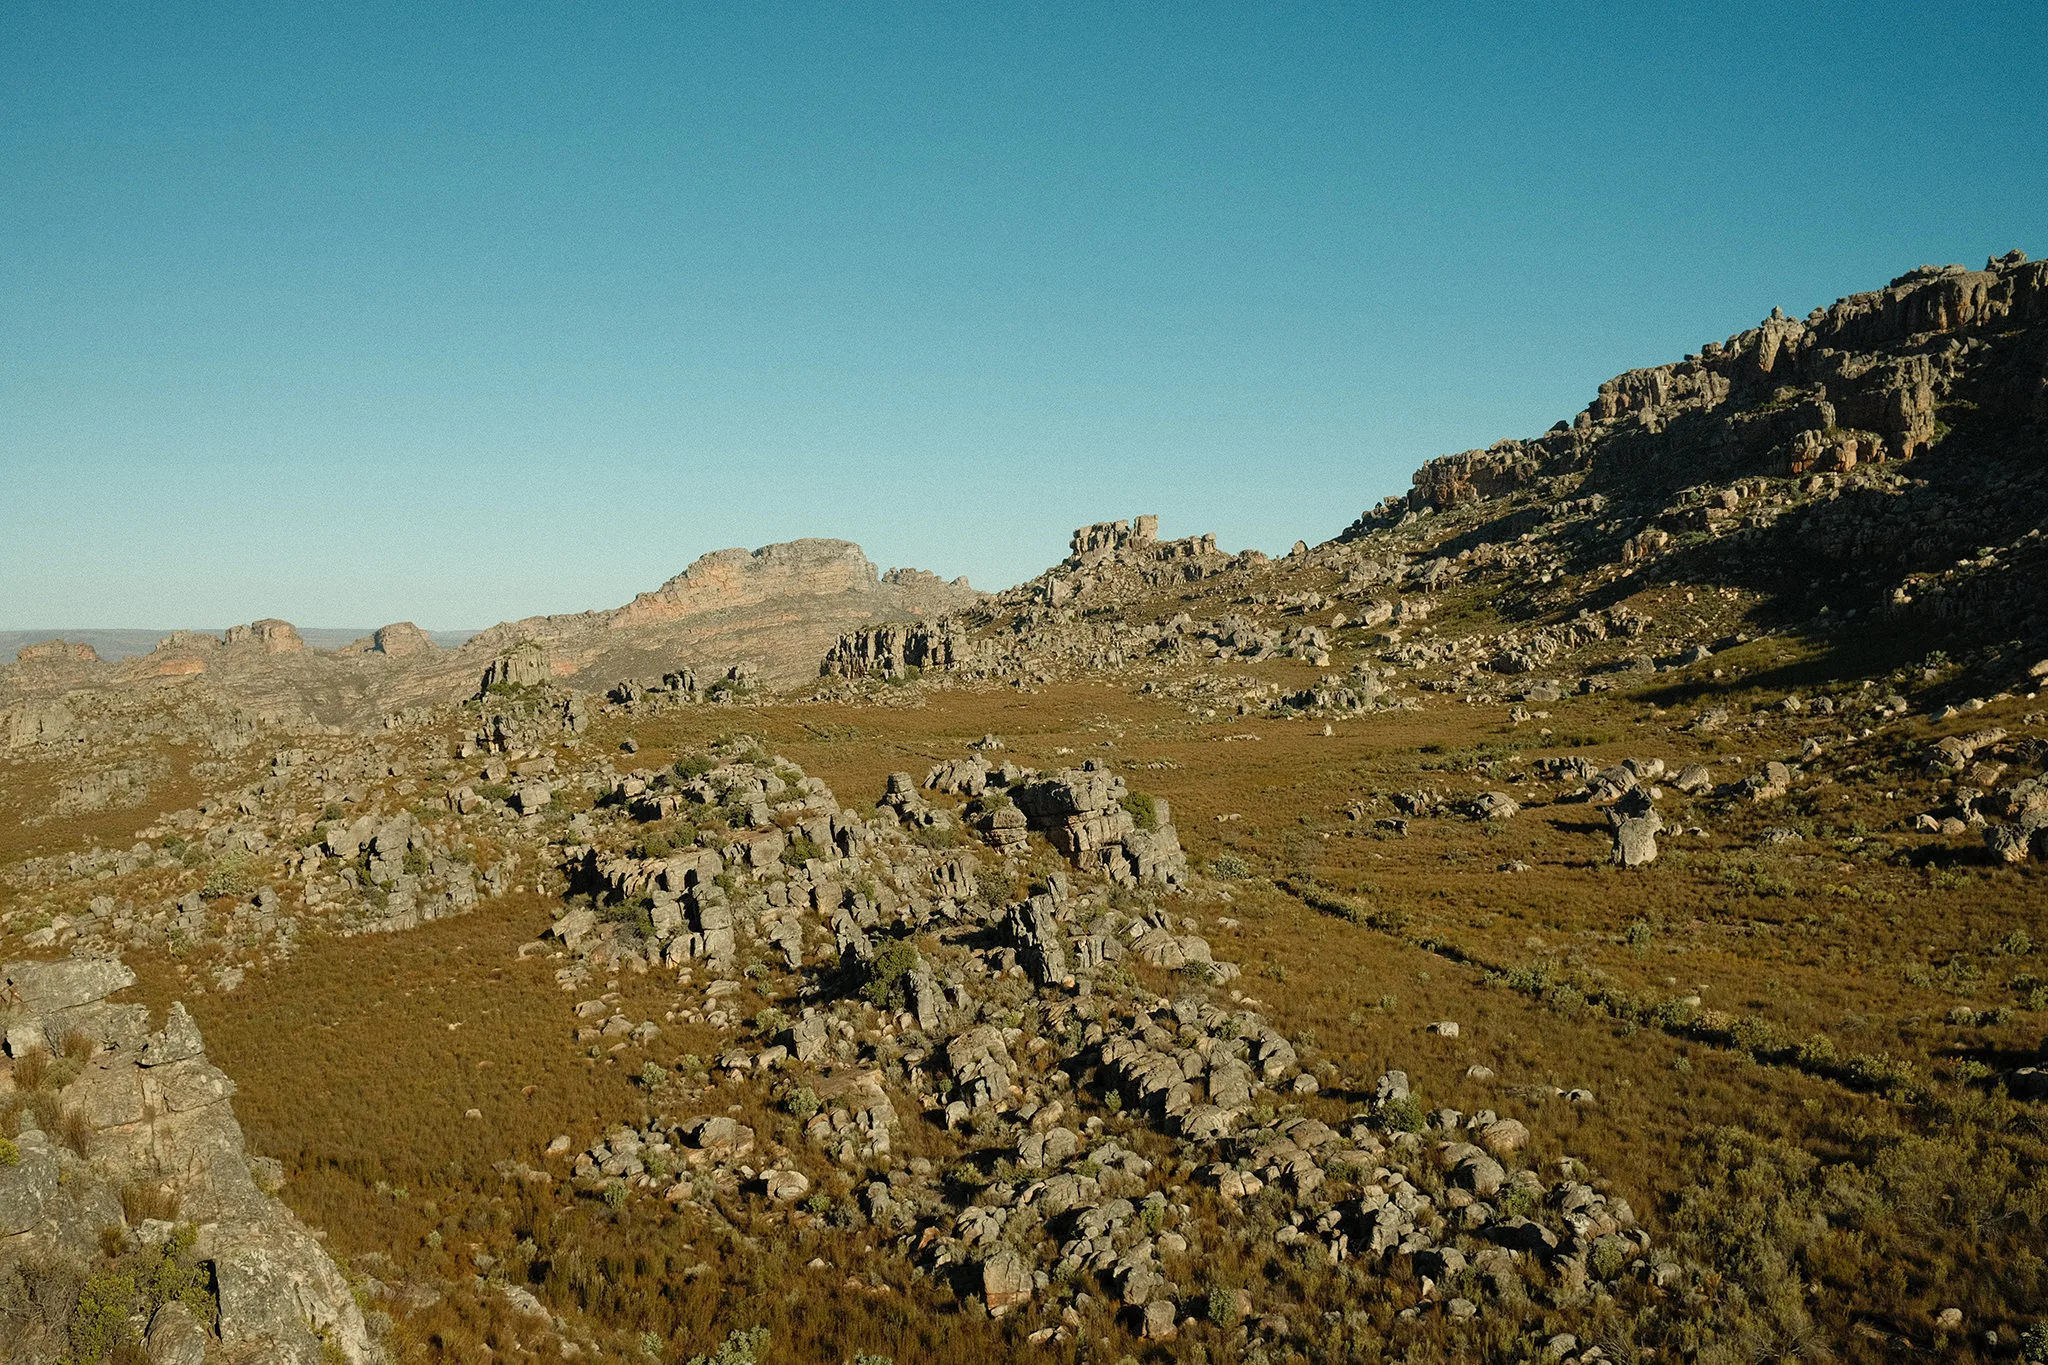
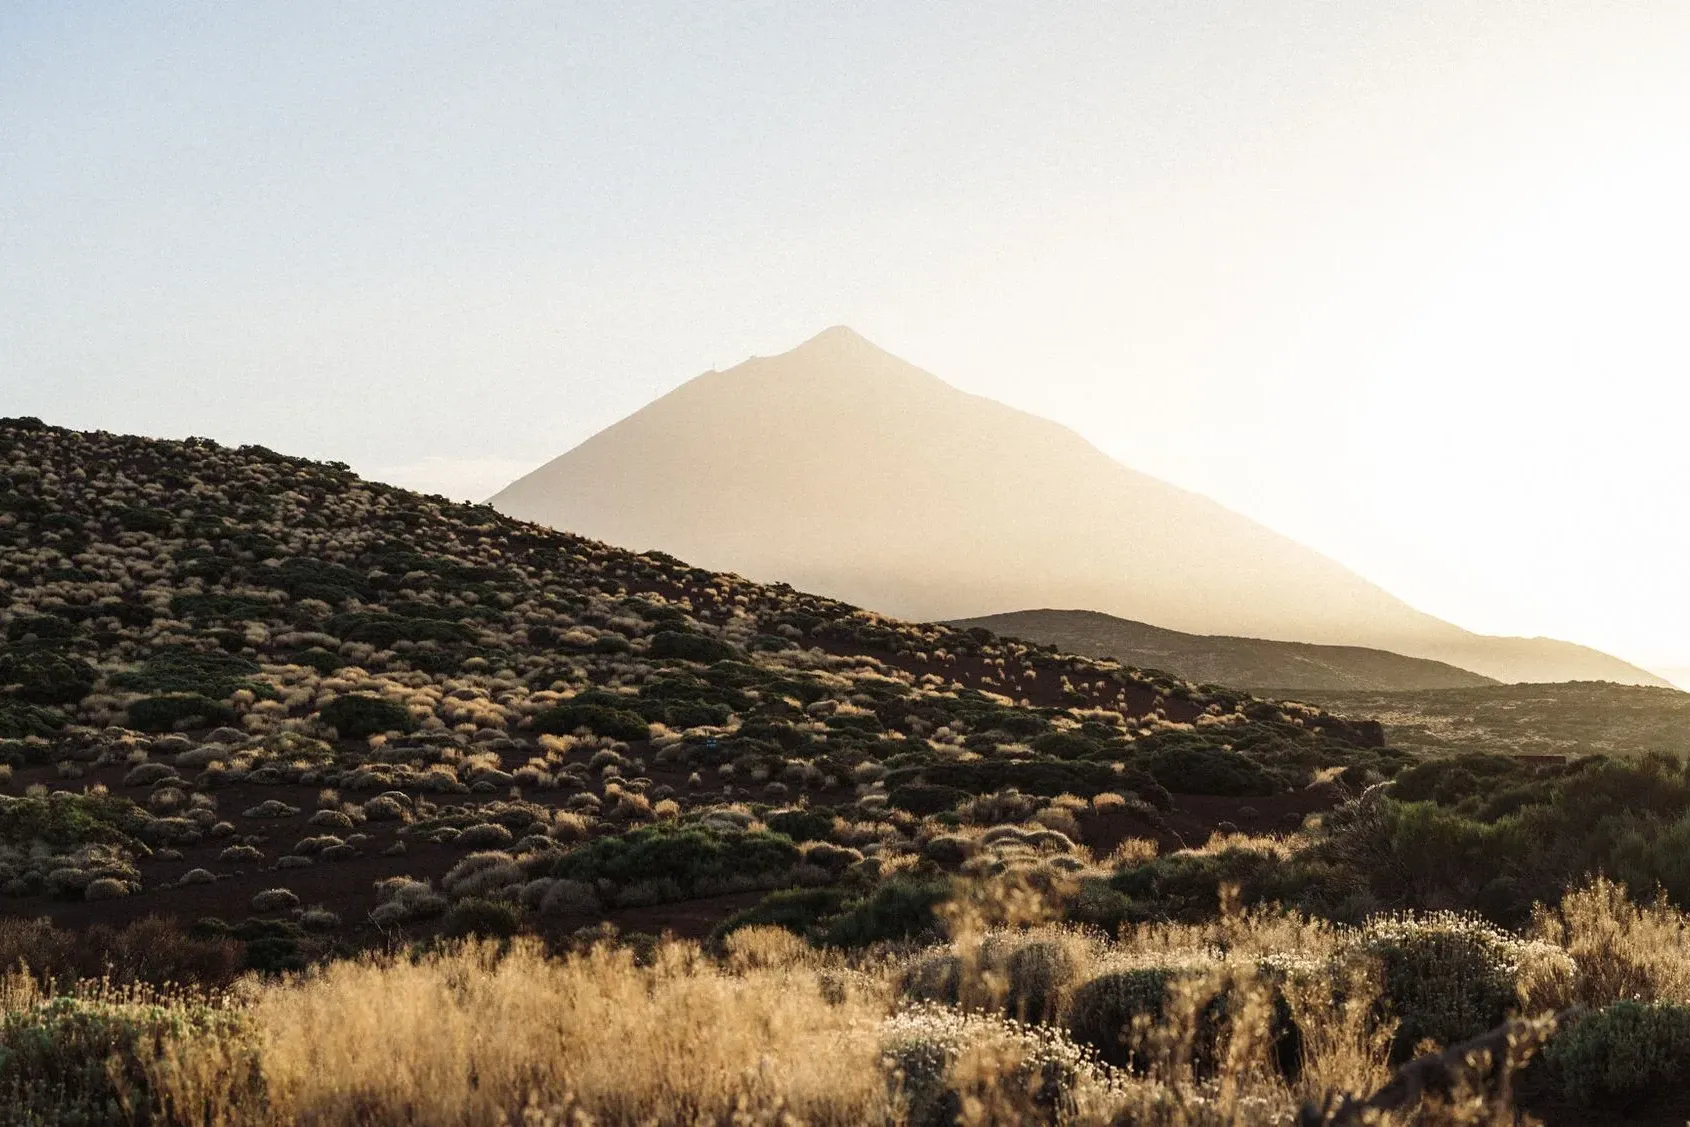
Once the mood boards and outfits are set, it’s all about the location. With a beachwear outfit, it’s a little less difficult, but in general, if I don’t know a location or area, I always do location scouting beforehand. I use Google Maps, look for interesting places and then drive there before the actual shoot.
Since I work with natural light, I must of course know how the light falls at what time. I use the app PhotoPills which uses AR to show me where in the sky the sun is at any given time.
Shooting day
Moods, outfits, location & model are set. Shooting Day!
The process of a shoot is relatively quick. Depending on the size of the team (if there is a director, hair & make-up, stylists, …) it can be that you as a photographer have to be very patient.
Just kidding. Of course there are differences depending on the size of the production. As a general rule, meet 1-2 hours before the shoot so that the makeup artists can do their work without rushing.
I often try to get to the location a little early to go over my plan in advance, to find certain corners where I can see what pose or idea might work. Depending on whether it’s a test shoot or not, I’ll even involve the model and ask for their ideas. In my opinion, involving your team builds team spirit and leads to a better end result.
The actual shoot itself is relatively quick, shoot, check in between, change location or outfit and shoot again.
You are currently viewing a placeholder content from Youtube. To access the actual content, click the button below. Please note that doing so will share data with third-party providers.
I made a short video to give you a bit of an impression how a shooting can look like. And yes, sometimes you need to give everything, even if that‘s means your shorts getting hit by waves. 😆
Depending on the effort and location, I tether directly to my MacBook or iPad. This means that the camera transfers the photos directly to the iPad or Mac. Recently, I have been relying more and more on Capture One mobile. The iPad app in particular is a game changer for me because I can get a first look at the images with a very simple setup. I can also show them to clients or models on location in higher resolution.
After the shoot
The shoot is over and now what? In our case there were over 1600 photos waiting to be gone through.
Most of the time I use Adobe Lightroom Classic, but more and more often I look over to Capture One Pro, because in my opinion especially the skin tones can be adjusted much better, but for now I mostly use it on my iPad.
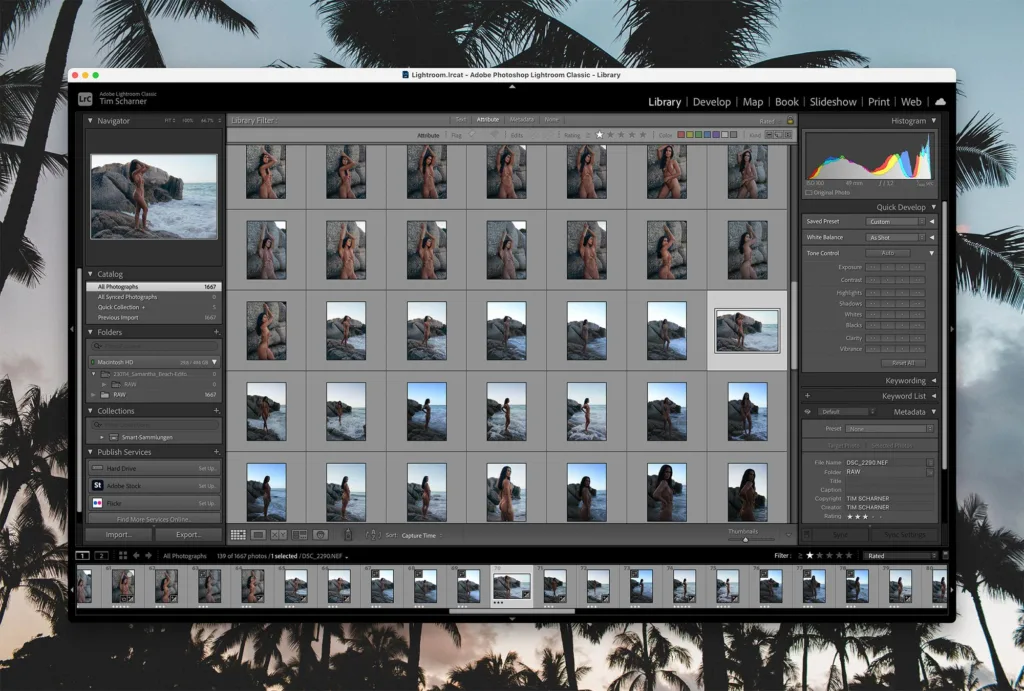
When selecting photos, I first go by feel and choose the photos I like. Then, of course, there is the fine selection, where I take a closer look at similar photos. Basically, I end up with about 10% of the photos. For further selecting I am using a mix of the star rating an color filter.
For the color look, we wanted a mix of analog and modern vibes, depending on the track or outfit. I use Photoshop less and less, mainly for skin retouching.
One of the most important things is backups! After editing my selections, I back up the entire project to network storage. Not only does this ensure that I have backed up all the photos since 2018, but it also allows me to access them from anywhere in the world.
I hope you enjoyed this post and found it useful. If so, be sure to subscribe to my blog so you don’t miss any more posts. 😊